Some projects in this book use the Arduino as their brains. The Arduino is less complicated than the Raspberry Pi in that it doesn’t have the computer and networking capabilities that the Pi has, but simply runs one program over and over until you unplug it. However, the Arduino excels at many hardware projects, especially when high-precision timing is required (such as talking to digital RGB LEDs). Let’s explore what Arduino is, cover how to install it, and get familiar with the Arduino workflow.
What Is Arduino?
The Arduino project began in 2003 with the aim of making it easy for people to get started with electronics, programming, and interactive design. The project created a variety of open source microcontroller circuit boards, along with a series of software libraries tied together in an easy-to-use integrated development environment (IDE). Arduino boards provide an interface between the digital world and the real world, giving users a simple way to read data from sensors like buttons, switches, and thermometers, as well as drive actuators such as lights, motors, and LED displays. An entire ecosystem has sprung up around the core Arduino system, offering a huge set of add-on hardware and software you can use to design the next great robot, art installation, or musical instrument.
Installing and Using the Arduino IDE
To get started with Arduino, you first need to install the Arduino IDE from the official website (https://www.arduino.cc/) under the Software section. I recommend you download the offline IDE rather than relying on the web editor. Packages are available for Windows, macOS, and Linux distributions, including Raspberry Pi.
The programming code for the sketch goes into the large text area in the center of the screen. The programming language used for Arduino is called Wiring, which is similar to the C++ language.
What an Arduino Sketch Looks Like
The Arduino IDE comes with a large number of example sketches, intended to demonstrate all the different things that an Arduino can do. The simplest sketch, called Blink, blinks an LED light. Most Arduino boards have a built-in LED that you can turn on and off using the sketch code, and the Blink sketch uses this built-in LED as an output signal. This sketch is a great way to test out a new Arduino board and confirm that the IDE is properly set up.
Configuring Your Board and Port
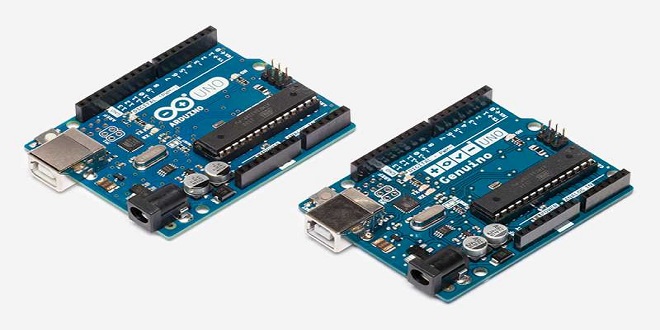
Before we compile and upload the sketch into the Arduino board, we need to use the Tools menu to tell the Arduino IDE what kind of Arduino board we’re using. You can select the Arduino Uno by choosing Tools ▸ Board. Here, we’re using the Uno as an example, but be sure to select the entry that matches the board you’re using.
Last word
Although the Blink sketch doesn’t transmit any debugging messages to the serial monitor, many other sketches use the serial monitor as a way to provide feedback on the running program. Some sketches even take input from the serial monitor and use it to influence how the program runs. In this way, you can make your sketches interact with the computer or any other device that can talk to a USB serial port.